
| << back | INDEX | next >> |
|
|
| This page shows the various methods of filleting - plate joining - done in the various parts of the kayak at different times during the construction. The filleting tasks are all lumped into this page. |
 |
There
are various methods and tools for dispensing epoxy slurry (putty) between
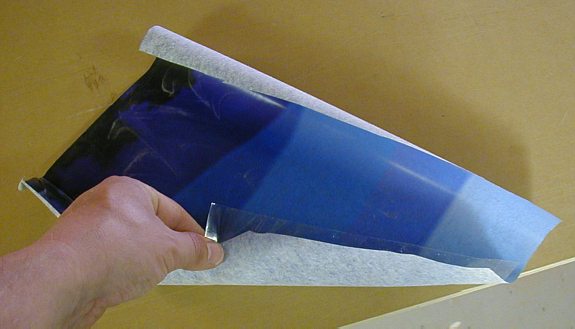
the kayak plates. This page shows three ways I did fillets on the Cirrus. You can live at the ends of the earth and still be able to make this "no-cost" but accurate pastry bag dispenser as illustrated in this section. Cut a square piece of wax paper or any stiffer plastic sheeting, trim one corner and attach a tape to the edge. As you roll the plastic into a cone, the tape will adhere to the inside of the cone, creating a seal which prevents the epoxy from escape into the rolled up folds. |
 |
Trim the tip of the cone to create the right size opening for your application. Pack the bag with epoxy putty, taking care not to introduce too many air voids, and roll it up to force the slurry towards the tip. Martha Stewart, watch out! :) |
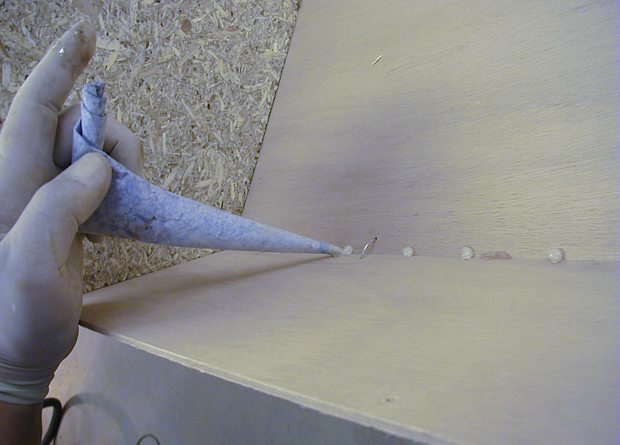 |
Here I am using this contraption to stitch the inside of the hull a day before starting on the deck plates. You don't want to knock your plates out of alignment before the stitches harden. |
 |
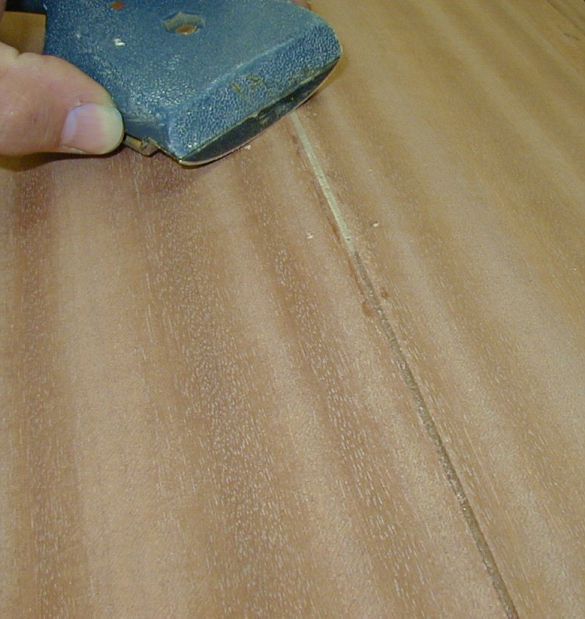
Flatten the "stitches"
so that the full epoxy fillet which comes later in the construction covers
all the 'dabs'.
|
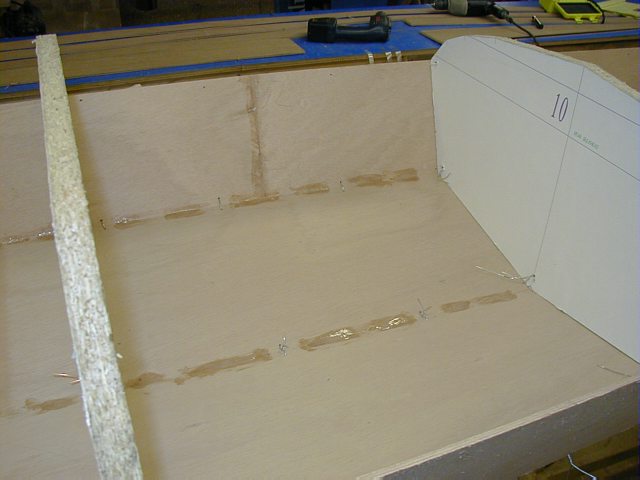 |
This operation is the very first epoxy job on the hull before the deck is even built. This process fuses all the hull plates permanently. The full fillets cannot be done until the deck is built and all the stations are removed from the kayak. |
|
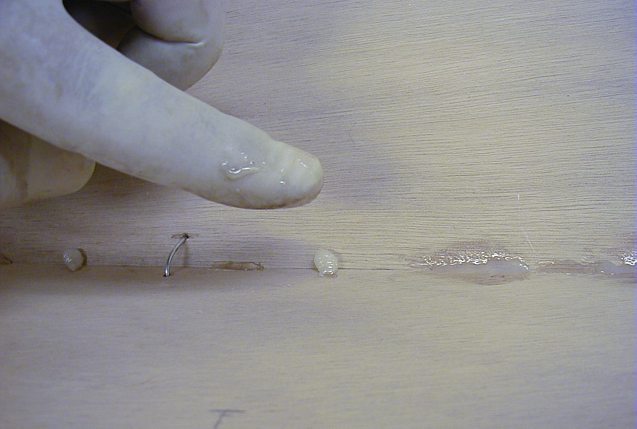
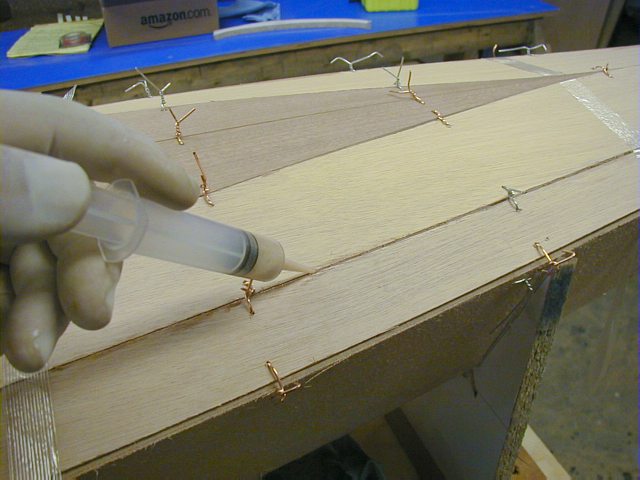
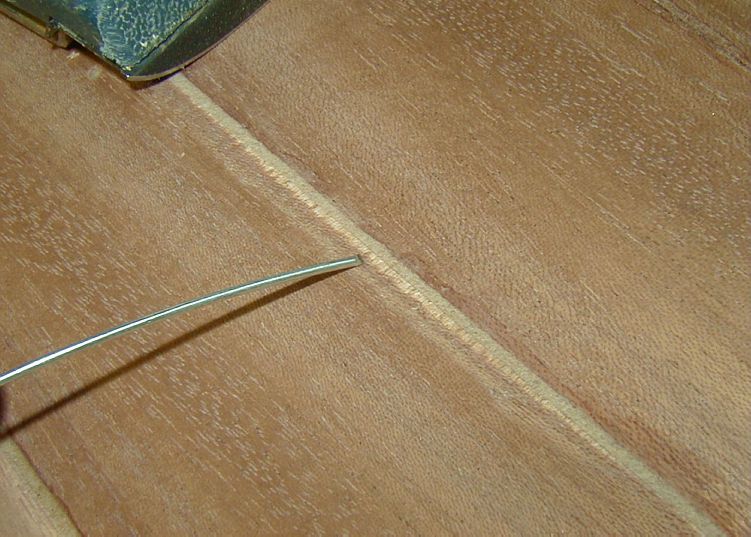
After
the hull is permanently epoxy stitched (picture above) and the deck is all
wired and plate edges nicely aligned, the deck plate stitching with epoxy
can begin. I chose a syringe method here because the application requires
more accuracy to inject the slurry into the narrow seams. Again, this initial
stitching fuses the deck together. When the stitches harden, the wires can
be removed. Any missing sections and grooves below the surface level as
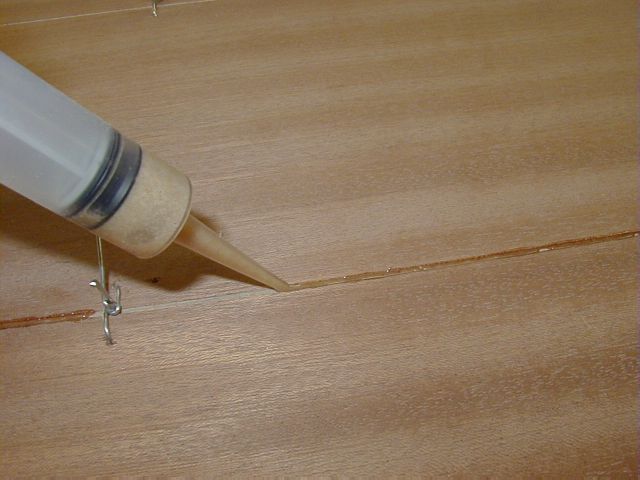
well as the filling of the wire holes is done in the second filleting session. Here is a close-up of the injection. The epoxy putty should be on the thinner side perhaps like pancake batter so that it penetrates deep into the cracks. Do not worry that the gaps are not filled completely. The point is to fuse the plates first. When the epoxy sets, you will do a second round of filling with thicker epoxy paste which will not run out of the cracks. The level of the epoxy bead at this point should be above the plywood. |
 |
|
 |
|
 |
|
 |
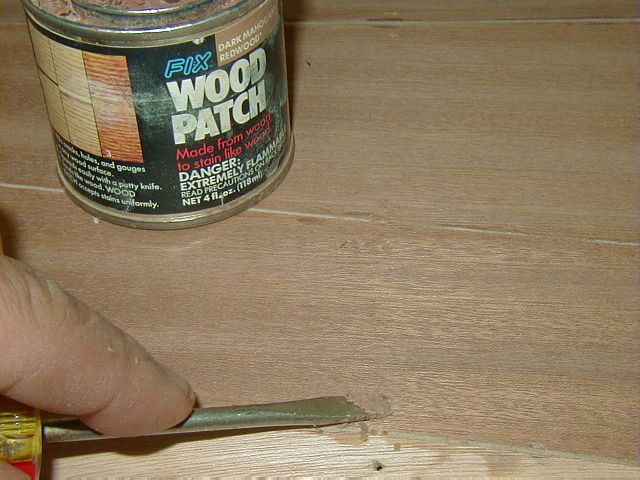
Careful with shaving the deck plate fillets particualrly if you are using thinner veneer plywood |
 |
|
 |
|
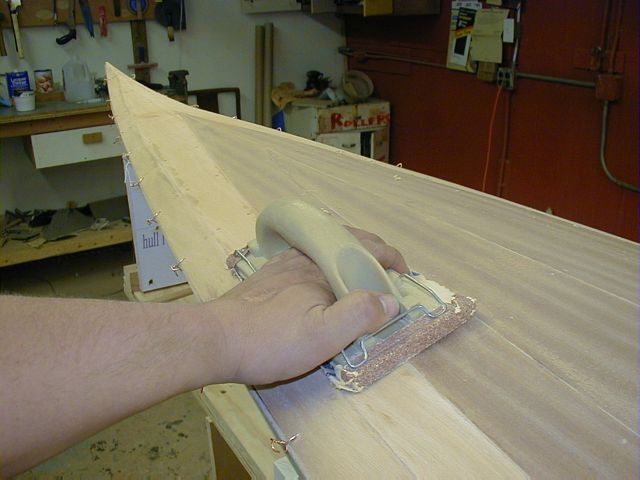 |
The light sanding of the fillets to blend the radius to the adjacent plates is just about the extent of the wood sanding. |
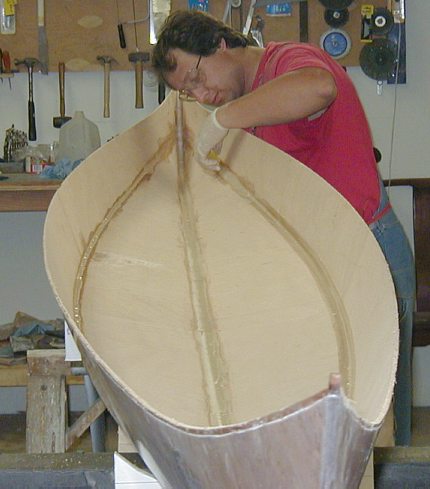 |
The
main structural fillets on the inside hull. This procedure is timed after
both the deck and hull are fiberglassed on the outside. The joints are first
brushed with unthickened epoxy to penetrate into the pores and wood grain.
After a few minutes, wipe off the epoxy completely and apply thick bead
of stiff epoxy putty (non sagging). Now you can form nicely round and feathered
fillets across the sharp corners. I use a piece of a bent squeegee and adjust
the radius as the fillet requires. The fillets should transition really
smoothly (feather) into the surrounding plywood. I recommend to clean up
the fillet edges as best as you can because the fillets need to harden first
and the more messy you leave it the more sanding you will be doing before
fiberglassing the inside. Sanding hardened epoxy is far more time consuming
than spending the time being 'neat' in the first place. See filleting in the Strip section of the Kayak Shop. |
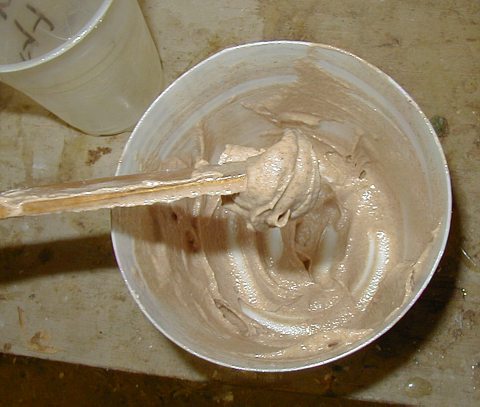 |
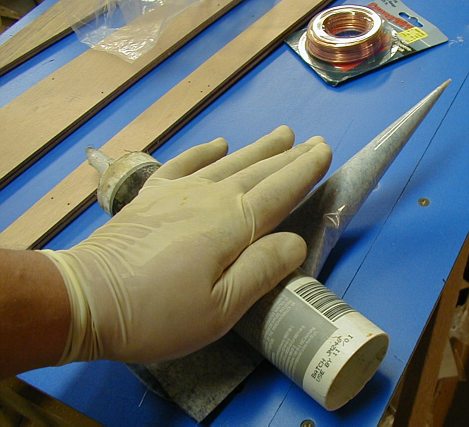
Epoxy
putty - mixture of epoxy, colloidal silica (Cabosil), wood dust, chopped
microfibers and phenolic microbaloons. There is no receipt for coloration of the putty or filler except trial and error. |
 |
Putty dispensing method three. An old silicone tube (clean). Wrap some packing tape around the tip to reduce the size of the extruded bead. |
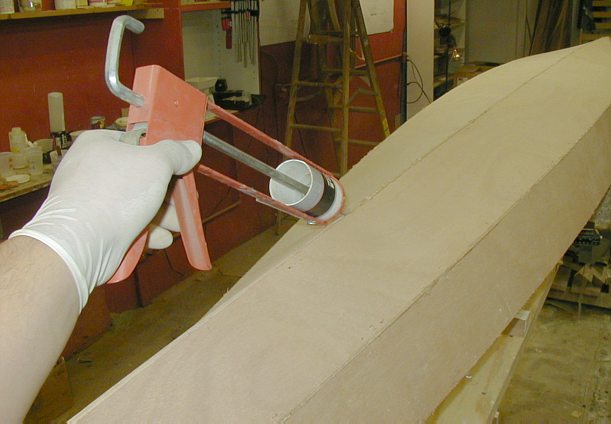 |
The caulking tube method is great for clean, fast and high volume slurry injection such as on the outside hull seams or even for the inside fillets. |
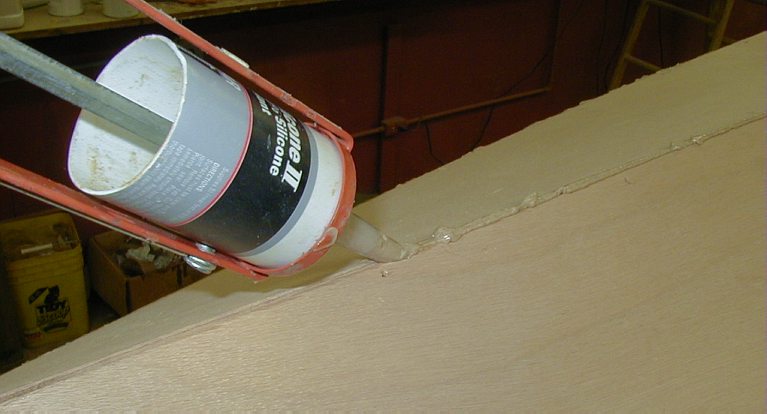 |
Close-up. I am trying to build up the fillet bead past the plywood surface so that I need not go back to fill the low spots later. The fillet is then easily sanded and the outside hull can be glassed (unless you want to add decorative stem bands). If so, I recommend to do these at this time. |
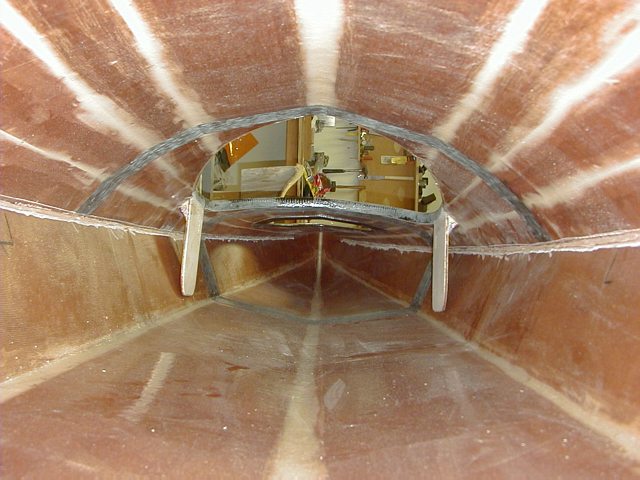 |
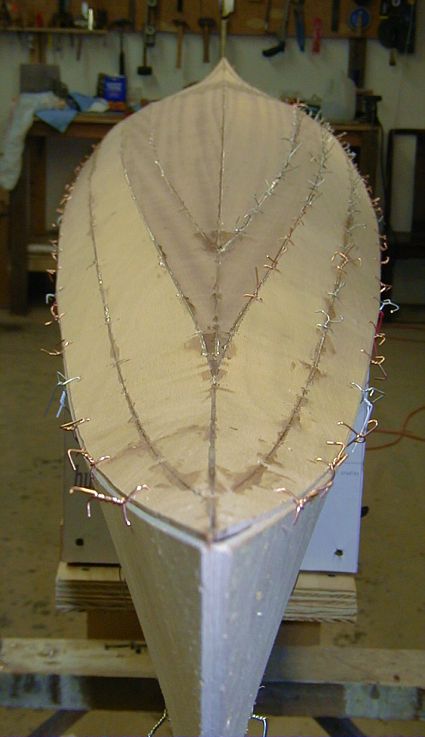
The
complete kayak innards immediately before bonding of the shells at the sheerline.
The picture is to show the internal deck fillets which are made using the
same principles as for the inside hull. You are looking into the kayak from
the front hatch towards the stern. Note the 'footbrace location' markers on the inside hull on the extreme right and left of the picture. Let's continue where we left off - on the deck plates. |
| << back | INDEX | next >> |
| 1 2 3 3a 4 5 6 7 8 9 10 11 12 13 14 |
| Home | Kayak Designs | Kayak Shop | Materials | Kayak Gallery | About us |
| Building Manual | Plans | Sandwich Core | Wood Kayak | Order | |
| Epoxy Test | Abrasion Cloth | Rudder | Resources | Choosing Kayak | Guestbook |
If you notice any problems with the site (i.e. error links, missing images) please, let me know. Thanks
Mail:
Vaclav Stejskal
10 Colonial Court apt. 73
Stoneham, MA. 02180
USA
Tel: 781-481-9261
© 1999
- 2020 Copyright Vaclav Stejskal
All rights reserved
Last page update:
11 January 2020