
| << back | INDEX | next >> |
|
|
 |
Pre-wiring panels and stations will save a lot of time. It is far easier to engage multiple wires (where you can) in the panels or stations and slide the whole thing into position. It is certainly easier than wiring the plates one wire at a time. In some places it will be unavoidable but take advantage of it where it's possible. |
 |
Both left and right pre-wired hull plates can be seated in at the same time (or individually, it's up to you). Note the line crossing the plate. The line defines the external and internal station boundary and is defined by the wiring holes (hull markers). The lines are not strictly necessary but are very helpful to visually align the plates to each other and to the stations. |
 |
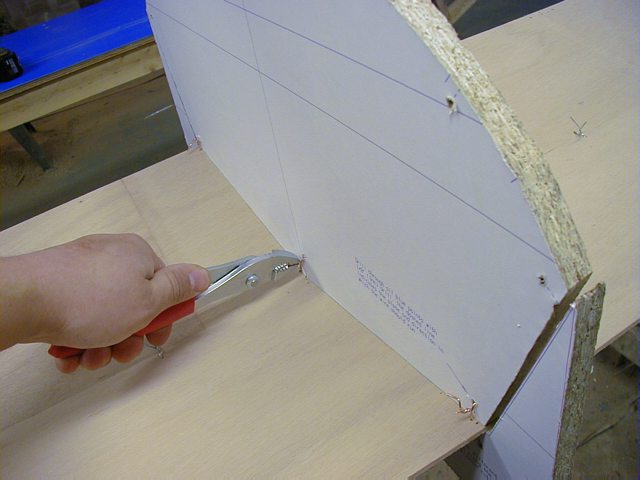
Wire
the plates to the three external hull stations. Insert the wires so that the twist can be easily accessed at all times. The wires on the hull between the three main stations, for example, should terminate the twist on the inside of the kayak. The overhangs past the strongback should be wired with the twist on the outside. |
 |
Add on the internal stations and wire them in. Notice the "offset" between the internal and the external stations. This is to account for the tapering of the kayak and to allow station material of different thickness. The plans show what side to mount the stations on. Ultimately, the construction of the kayak is independent of the station thickness. Anything from 1/2" up to 7/8" will work but I recommend 5/8" (16mm) particleboard as the most suitable - thick enough not to warp easily and thin enough to cut quickly with a jigsaw. |
 |
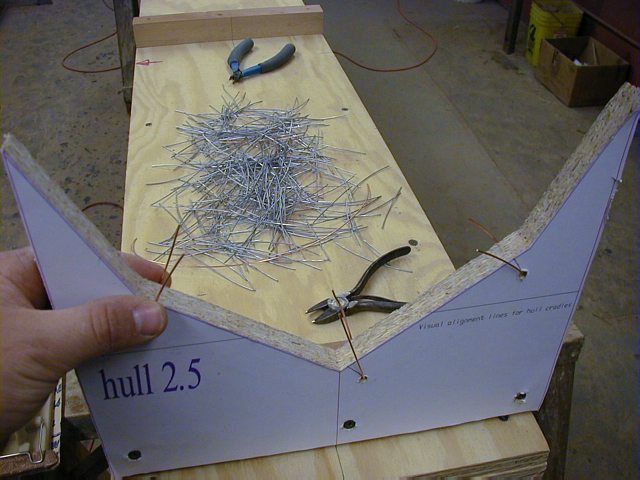
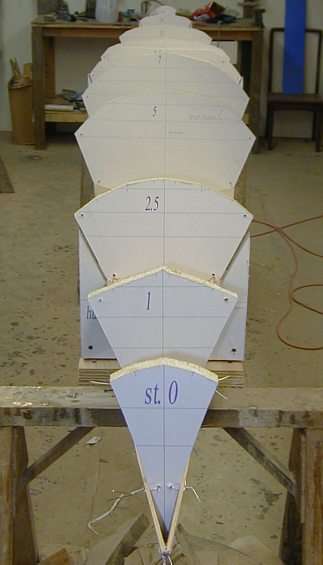
The
foundation. Location of stations: The station numbering of the stitch and glue kayaks as well as the hybrids indicates the distance in feet from station 0 (zero). So for example, the hull cradles on the Cirrus are at 2.5, 8.5 and 14 feet from station zero. Station 0 is the intersection of the designed waterline with the kayak bow. If you work with the hull templates (plans) the station locations will be indicated there. If you only have finished hull plates with all holes predrilled (as in kits), you can identify the station locations just as easily. The plate drill holes are positioned exactly every 6" (or 0.5 foot) along the entire length of the kayak and they define the station locations. So, if you locate only one station, let's say the hull cradle 2.5 (which has a unique drill hole configuration), station 5 for example will be 2.5 feet (or 5th set of drill holes) after station 2.5 and so on for the rest of the kayak. |
 |
Wiring in of the mid station. |
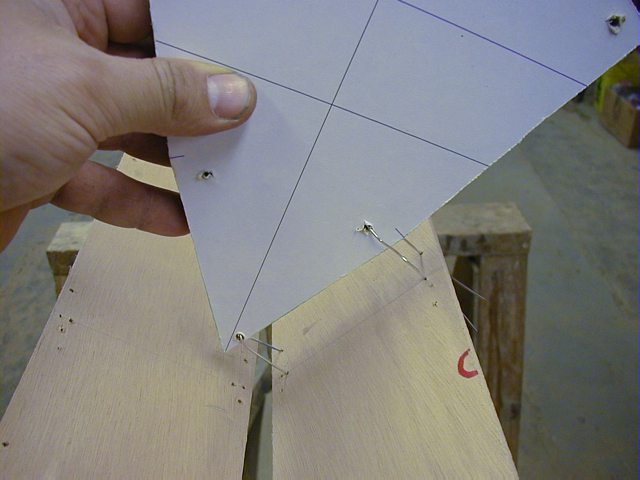 |
Adding other internal stations one by one.. |
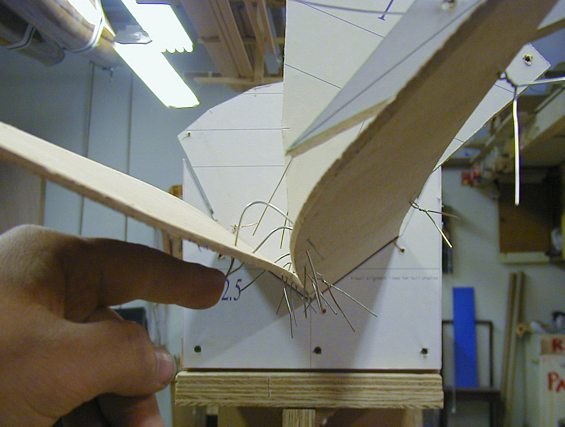 |
Engaging pre-wired panels. |
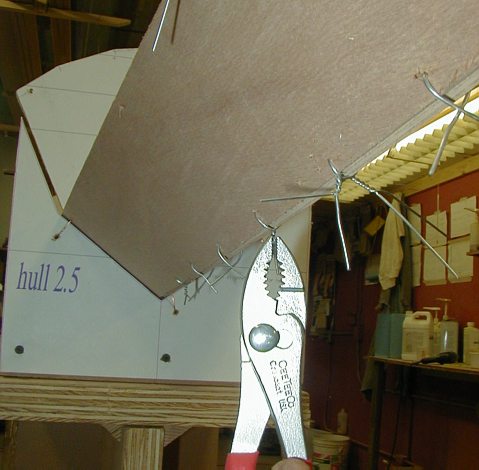 |
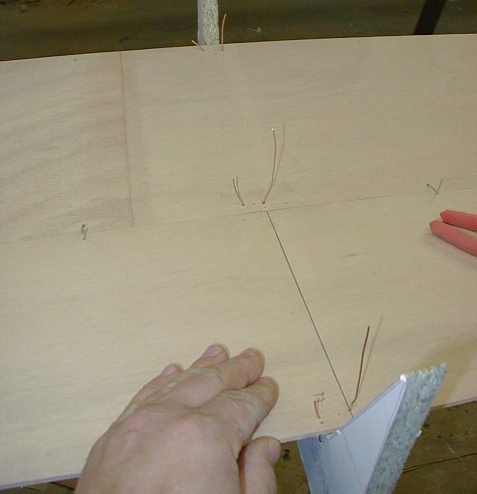
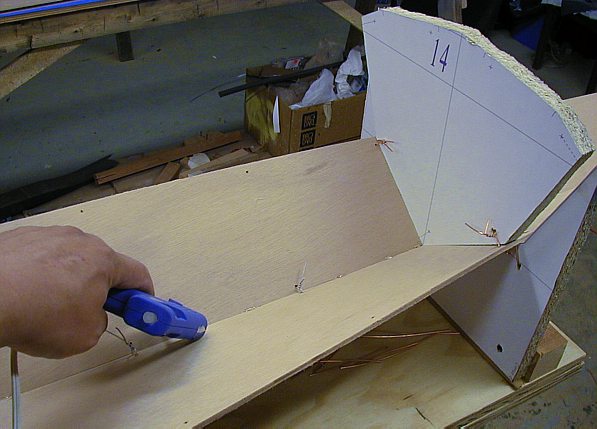
Proceed
to tighten wires from middle of the kayak towards the ends. I use both steel
and copper wires. Wiring of the panels is easily accomplished with 3"
(7,6cm) long wires and for the station wiring, I use minimum 4" (10cm)
lengths. The forms are far easier to wire with softer copper wires (16 AWG
1.29mm dia.) if you cannot pre-wire ahead of time. Steel wires (18 AWG 1.024mm
dia.), however, are far stronger (and cheaper!) and more suitable on the
plywood plates. The narrower steel wires are also easier to engage into
pre-drilled plywood but are more difficult to thread in tight corners. I
recommend to precut a hundred wires at a time for efficiency sake. AWG - American Wire Gauge |
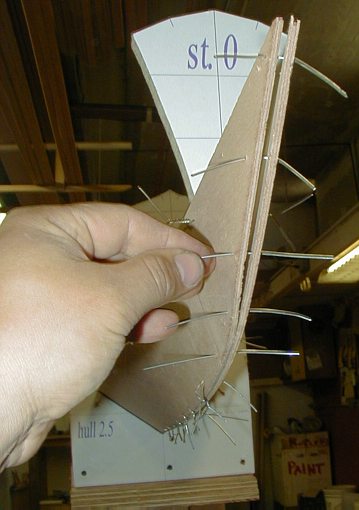 |
Stem wiring with steel wires. |
 |
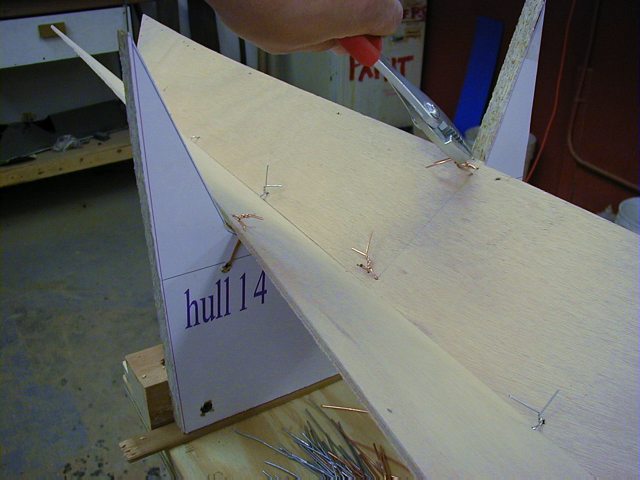
When
the whole shell is wired and lightly tightened, start twisting the wires
tight in the middle of the kayak and proceed towards the ends. Twist the
wire, align the plates edge to edge, stitch with a dab of hot glue and let
it harden (10 sec.) before moving on. Stitch with the hot glue as little
as necessary to immobilize the plates - one dab every 6 inches works OK.
Hot glue is a perfect semi-permanent mini clamp. The wires force the plates into position but may not prevent subsequent sliding of the panels out of alignment as you jar the assembly and mount other stations. Hot glue will prevent shifting and sliding. |
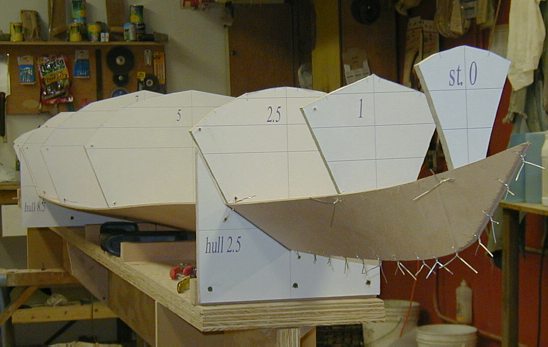 |
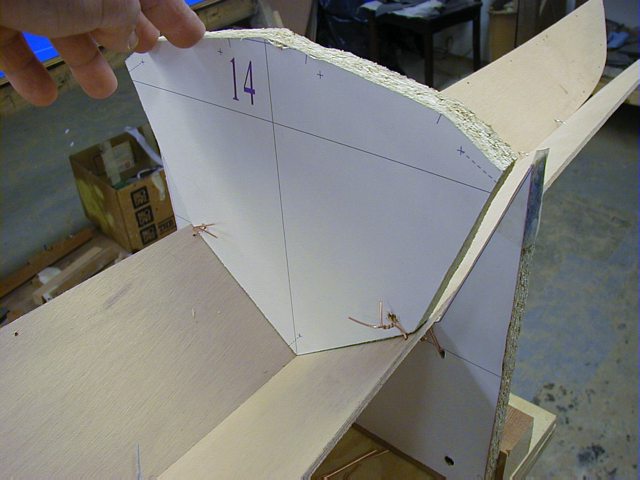
Hull
plates # 1 and all stations wired in. Note the chines are not yet perfectly
"fair". This will be fixed by the addition of the adjacent panels
until the whole kayak is enclosed. As a general rule, a free plate edge
not attached to another plate will not be fair (smooth curved and looking
right). |
 |
A
different view of the assembly. As a note of interest: The 'fairness' rule also extends to the number of stations that make up the shape of the hull and the kayak in general. An optimal hydrodynamic shape requires a sufficient number of stations to form the proper shape. There is more to a hull than the formation of a plain "canoe shape". You can make this shape by pinching the hull ends together and forcing one station in the middle but it hardly makes an optimal kayak hull. The performance ( displacement, speed, stability, drag, surface area, wave resistance etc..) of a hull depends greatly on the volume distribution within the hull, waterlines and waterplane shape all of which which can be accomplished only by sufficient number of formers distributed at optimal intervals. As you add the individual internal stations, notice the hull shape and the angle that the plates assume before and after the station is inserted - you will see what I mean. |
| << back | INDEX | next >> |
| 1 2 3 3a 4 5 6 7 8 9 10 11 12 13 14 |
| Home | Kayak Designs | Kayak Shop | Materials | Kayak Gallery | About us |
| Building Manual | Plans | Sandwich Core | Wood Kayak | Order | |
| Epoxy Test | Abrasion Cloth | Rudder | Resources | Choosing Kayak | Guestbook |
If you notice any problems with the site (i.e. error links, missing images) please, let me know. Thanks
Mail:
Vaclav Stejskal
10 Colonial Court apt. 73
Stoneham, MA. 02180
USA
Tel: 781-481-9261
© 1999
- 2020 Copyright Vaclav Stejskal
All rights reserved
Last page update:
11 January 2020