 |
The
deck plates are wired one by one from the sheerline (the boundary between
the hull and deck) towards the top of the deck. Both the right and left
mirror image plates are wired to the lower plates before adding more pieces.
Unlike the hull plates which are wired to the hull cradles and internal
stations, the deck plates only rest or "float" on top of the stations.
The deck plates are only wired to each other and when the last "top"
plates are joined across the deck centerline the deck will assume the correct
shape.
This setup has the advantage of not having additional drill holes and the
seams between the plates can be nicely adjusted. Even if some plates are
not cut perfectly, any error is distributed (and absorbed) by the other
seams. Let's say, for example, that plates #2 are cut slightly undersized
in width. If the plates were to be rigidly attached to the stations, it
would leave a noticeable gap between one or both adjoining plates. Floating
plates can absorb this error since the gap will be divided among all the
seams. To be more specific, I am talking about a 1-3mm gap not a 1/2"
gash! I doubt that anyone would make such mistake in the first place.
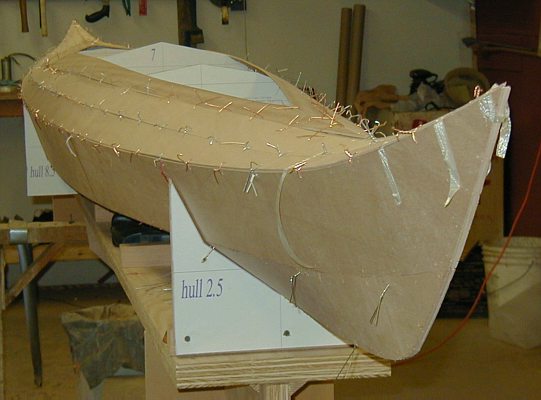
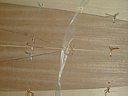
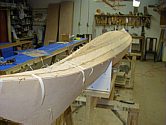
The pictures below show the sequence of plate mounting. |
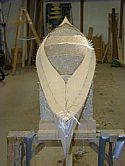 |
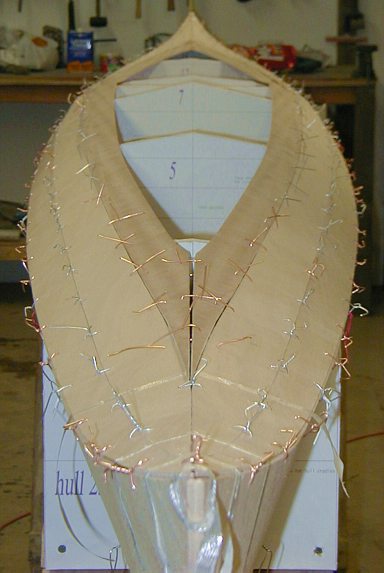
Plates
# 2 done. |
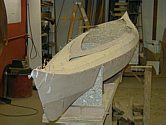 |
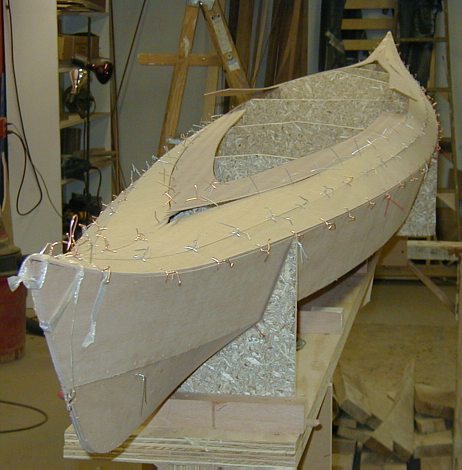
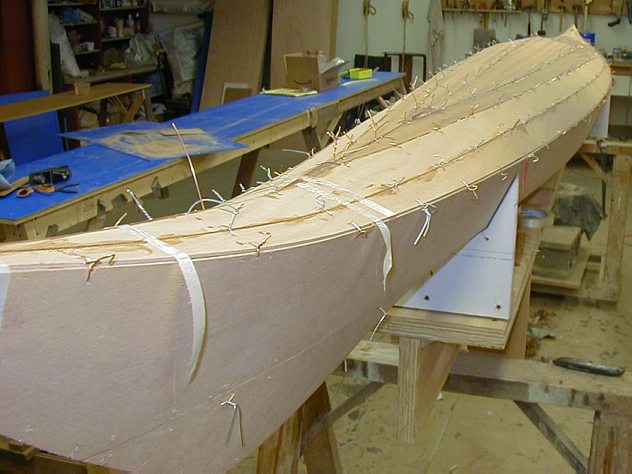
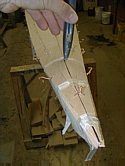
Wiring
in aft deck plates # 3. |
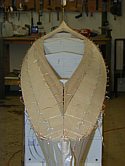 |
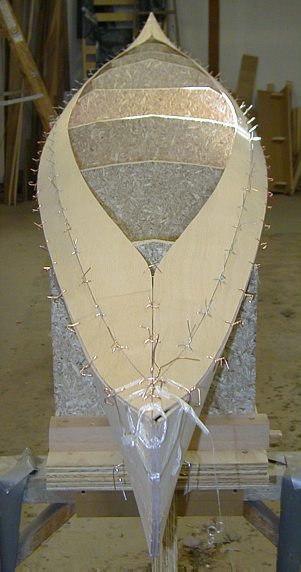
Foredeck
plates # 3. |
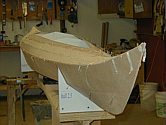 |
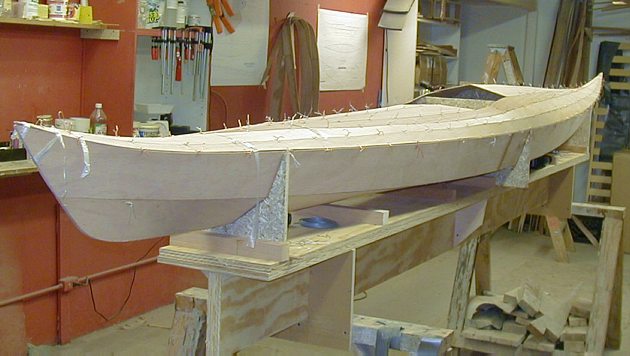
Different
view. |
 |
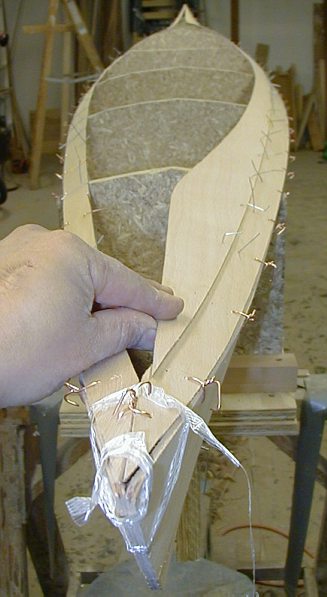
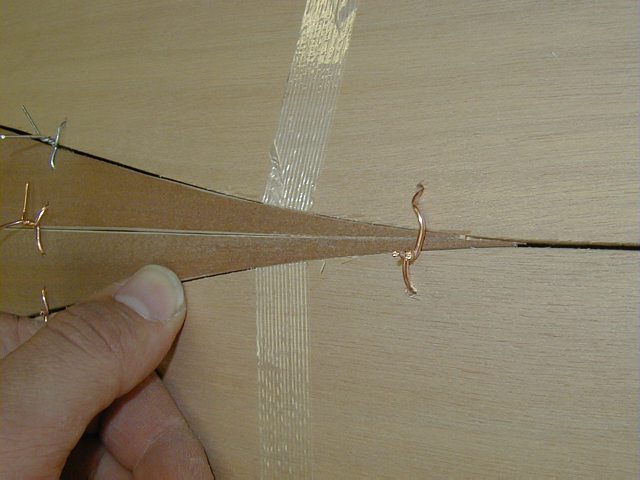
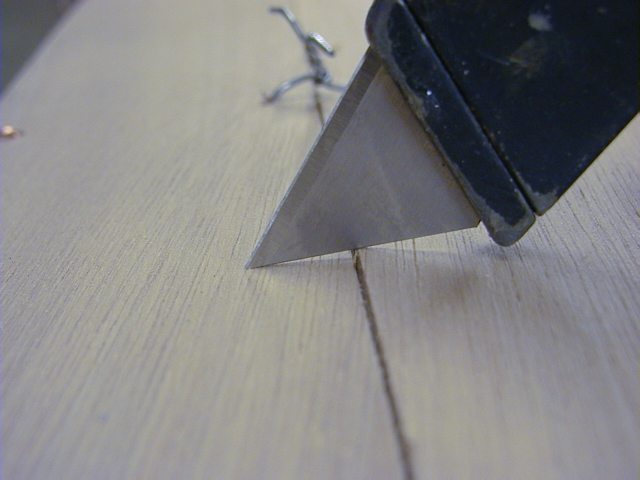
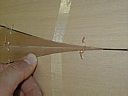
Here
is a detail of the top deck plate tips. There is no easy way to wire or
hold these fragile ends in position. If the tip becomes bent and wedged
under the plates as you tighten the wires, the only practical way to retrieve
it is by prying it out with a knife blade. Needless to say, this may break
the plate tip. In order to prevent the tips from slipping inside the kayak
in the first place, strap a fiberglass reinforced tape loosely over the
deck at the ends right before placing the plates. The tips will go only
as deep as you let them by adjusting the tension of the tape. |
 |
The
sharper and narrower the tips the more helpful this method becomes. I have
left some of the "pointier" tips intentionally wider to prevent
premature breakage during handling. A minor sanding of the "internal
edges" just prior to installation will give the tips a slight taper
so that the tips will seat into position nicely. You can also shave off
the outer plates instead of messing with the tips. In the picture on the
left, the shaving would be done right where the tape goes over the lighter
plate. Sandpaper on a narrow stick, a file or a dremel tool, all work well.
After the epoxy stitching, slice through the tape deep in the plate seam
and remove it. When you work on the inside deck, remove the rest of the
tape then. If a small piece becomes permanently stuck - no one will know
;) |
 |
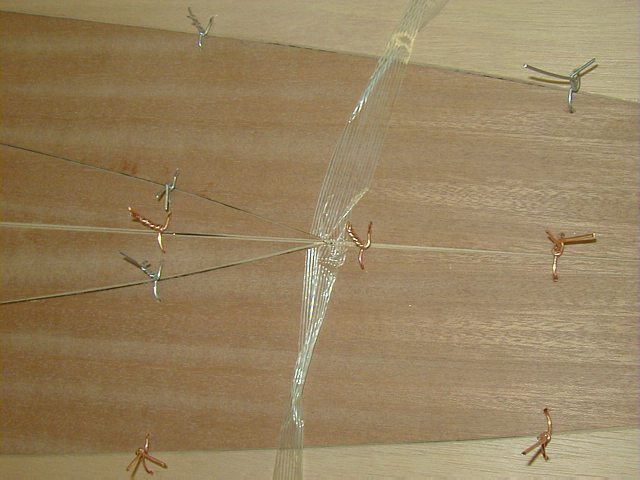
Wiring
itself will not always align the plate edges along the entire seam perfectly.
As you tighten the wires, the plate edges stay in position by friction between
the edges. Align the plates by inserting a sharp blade and adjusting the
relative height of the edges. If there is a small gap between the edges,
the plates will generally self align. One way or another it is important
to maintain some small open gap or "V" gap between the plates
to inject the epoxy putty. |
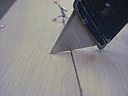 |
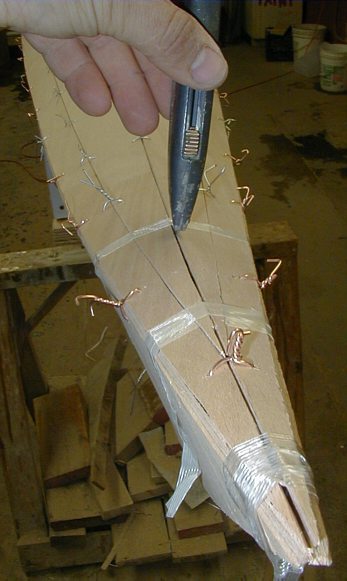
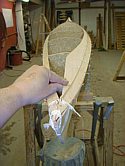
This
is an illustration of misalignment. You can clearly see the left plate being
lower than the other. Bring them to the same height. |
 |
The
completed deck with first round of epoxy stitching finished. Since there
is no further manipulation of the deck after you wire it (which might knock
things out of alignment), you can skip the hot glue "pre-stitching"
and do the epoxy stitches directly. |
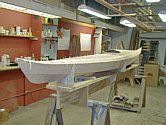 |
View
from behind. The deck wiring takes about two short work sessions or one
full day. |