
| << back | INDEX | next >> |
|
|
| After you rough cut the first template as seen on the previous page, flip the big plywood sheet over so that it is now facing with the good side up and position the rough template on top according to your plate layout scheme. The pieces will now face each other with the good side. |
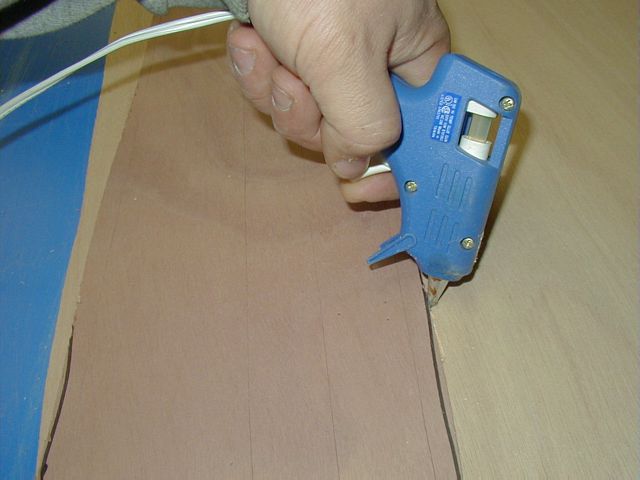 |
To cut both plates precisely at the same time, the pieces must stay sandwiched together without shifting for the entire cutting operation. One way to accomplish this quickly and efficiently is to stitch them with hot melt glue. You can also wire them but that is far more tedious and their relative immobility is uncertain. |
 |
If you wondered why the 1/2" - 3/4" margin around the plates, here is the answer. If the hot glue spreads into the boundary of the clean kayak plate, the glue may rip the veneer off - thus the sacrificial margin. |
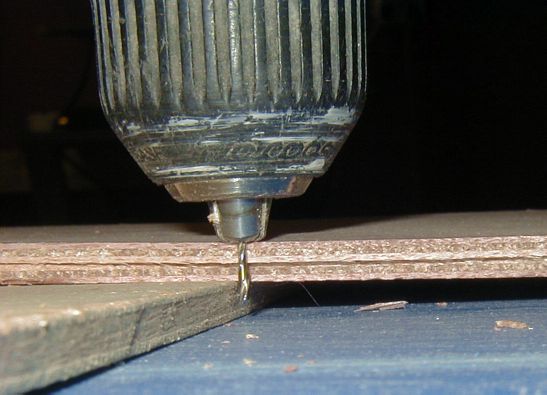 |
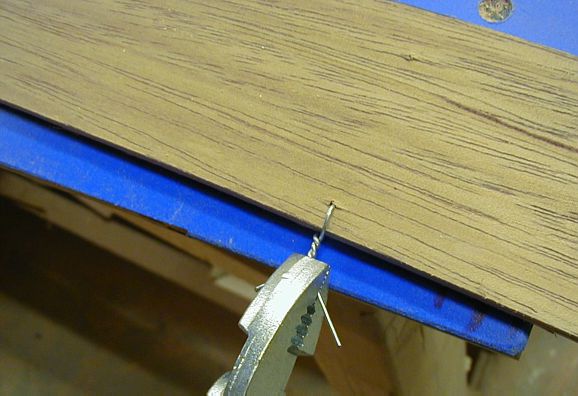
With the plates hot glued and wiring holes marked out, now is the time to drill all plate wiring holes (two holes at one pass). Set the depth on a 1/16"(1.5mm) drill and go! |
 |
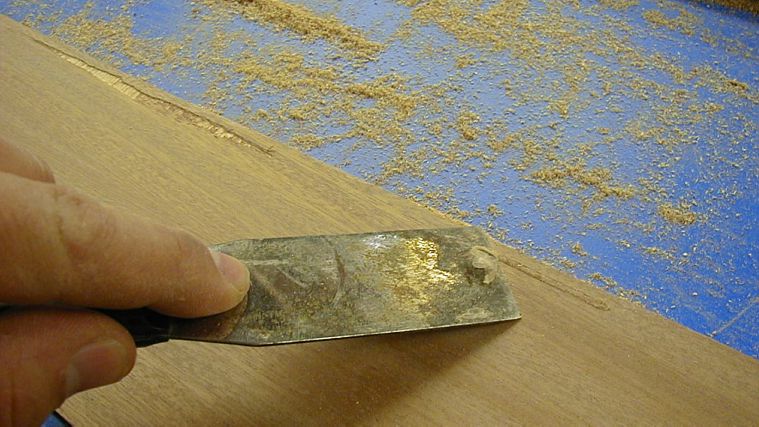
After one side of the plates is cut, stop and dress any irregularities to a smooth line. Hold the sander perpendicular to the plywood. Since the 'good side' is sandwiched between the plates, the edge will be crisp clean and both plates will be EXACT mirror images of each other. At this point the knife cuts from the plans transfer should barely disappear and as soon as this happens STOP! If you cut past the plate boundary in some places, do not sand there. If anything, the plates can always be 'a hair' larger since sanding them down is not a big problem but filling huge gaps between 'oversanded' plates is. |
 |
When all is smooth and fair on one side, wire the plates in a few locations. Remember, the holes are now all drilled and the hot glue seam on this side is gone. |
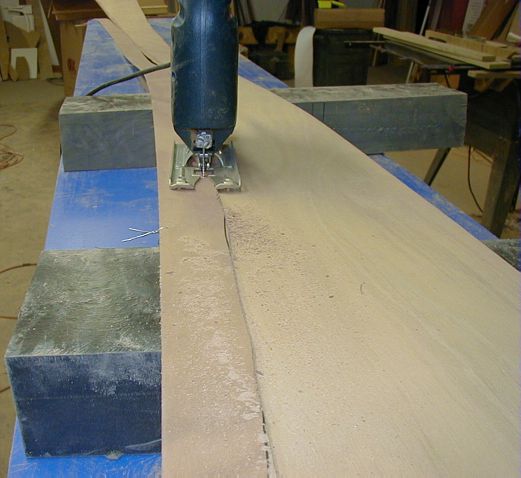 |
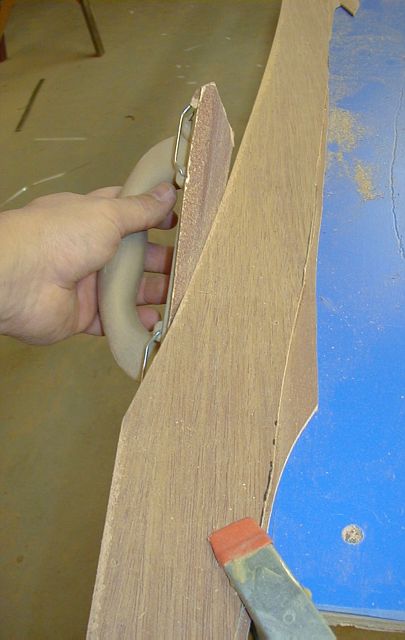
Proceed
cutting the other side. It will be helpful to elevate the cutting area as
well as to support the vulnerable plate tips, otherwise they will be bouncing
off the floor. Sand the other side smooth as well. In the large photo, you can see the wiring that now holds the plates together while the glue part is being removed. |
 |
Finished hull plates. When you get to this stage, the rest of kayak building is a "breeze". |
| << back | INDEX | next >> |
| 1 2 3 3a 4 5 6 7 8 9 10 11 12 13 14 |
| Home | Kayak Designs | Kayak Shop | Materials | Kayak Gallery | About us |
| Building Manual | Plans | Sandwich Core | Wood Kayak | Order | |
| Epoxy Test | Abrasion Cloth | Rudder | Resources | Choosing Kayak | Guestbook |
If you notice any problems with the site (i.e. error links, missing images) please, let me know. Thanks
Mail:
Vaclav Stejskal
10 Colonial Court apt. 73
Stoneham, MA. 02180
USA
Tel: 781-481-9261
© 1999
- 2020 Copyright Vaclav Stejskal
All rights reserved
Last page update:
11 January 2020