
| << back | INDEX | next >> |
|
|
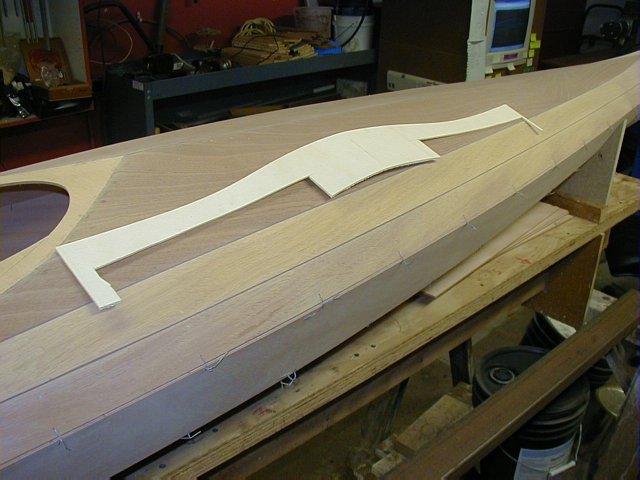
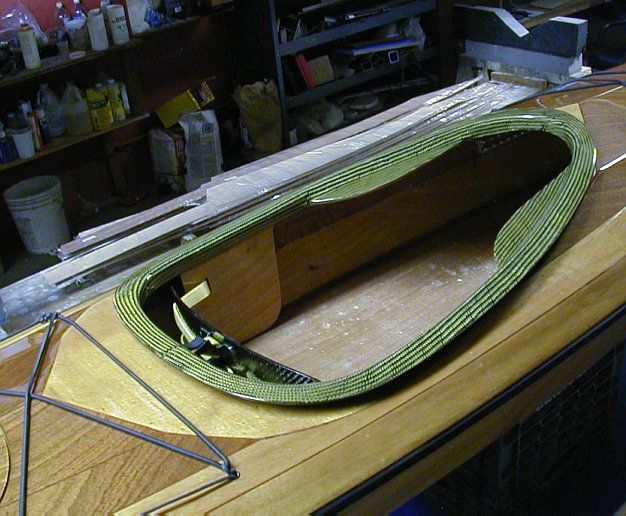
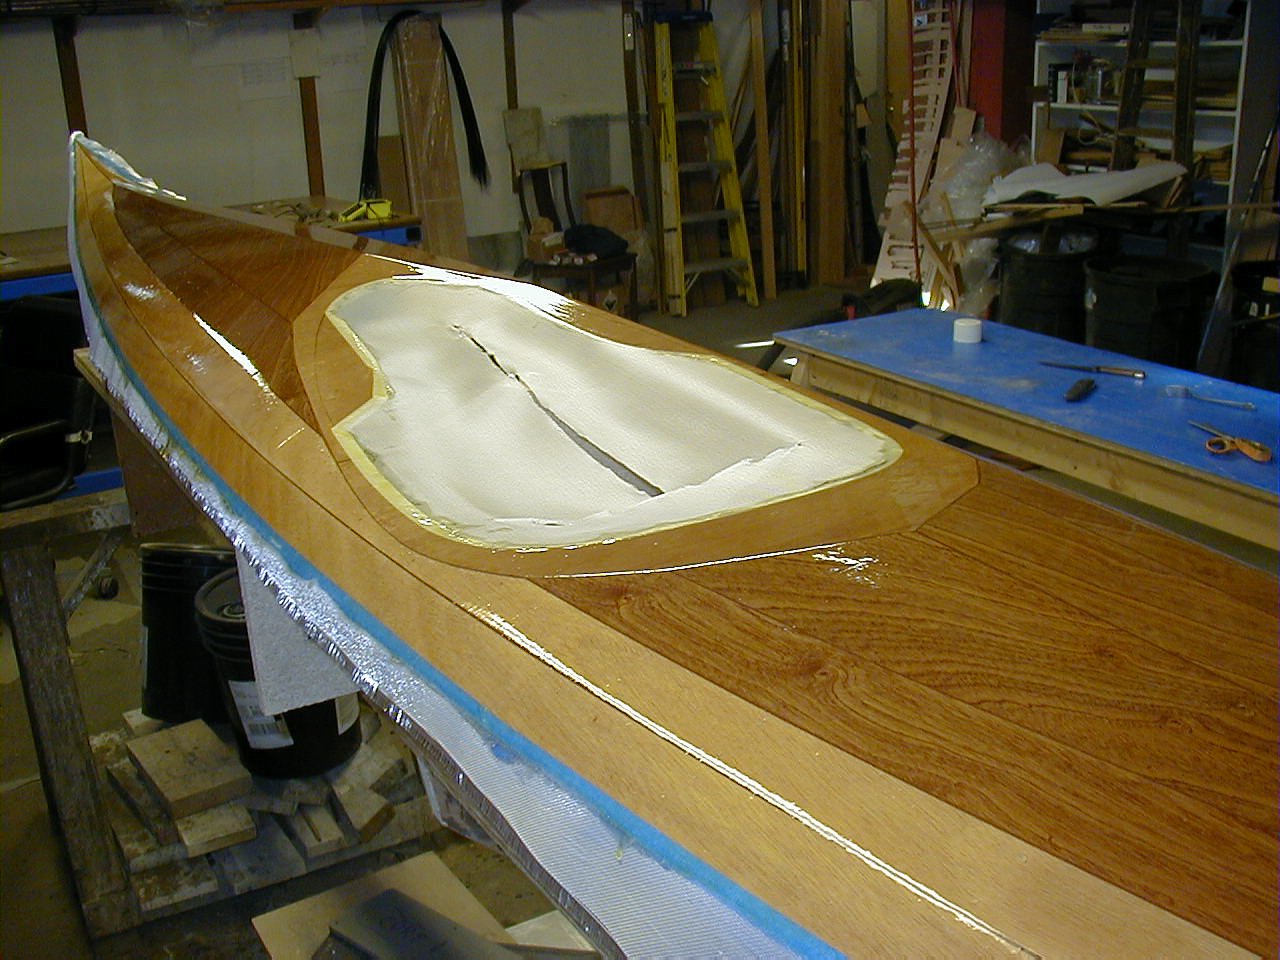 | Unlike the standard coaming rim without kneebraces, the integral kneebraces on the recessed cockpit present a little challenge so I am going to show you one way to deal with this. Here the deck is fiberglassed after making the recess. |
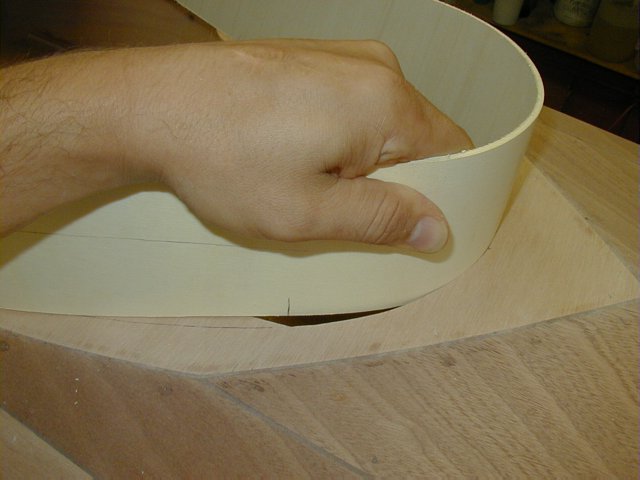 | If this was the standard coaming, I would just insert the flexible plywood and be done but here I have to intersect the coaming rim and the knee brace. The best place to start is to bend the rim into the hole so that the center of the rim aligns with the center of the deck. Press the rim so that it maintains full contact with he hole and mark off the beginning of the knee brace. |
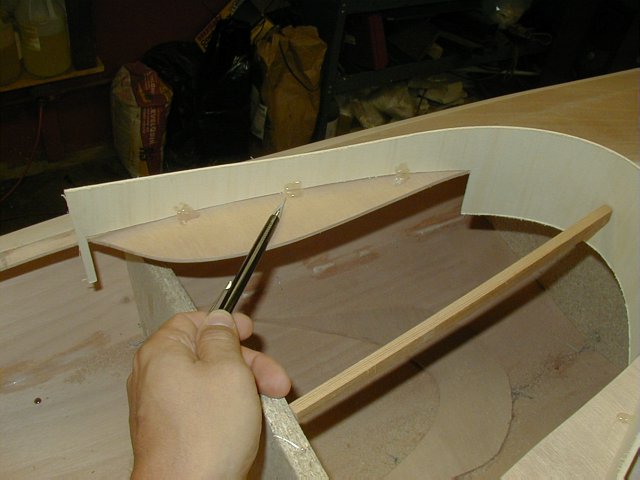
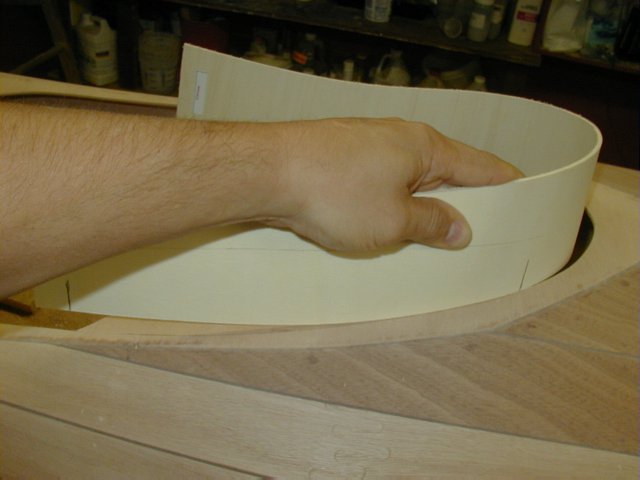 | Bend the rim over the knee brace to assume the cockpit cutout curvature drawn on the recess plate while keeping the first knee brace marker in position and mark off the end of the knee brace. This establishes the front and rear cut on the rim. |
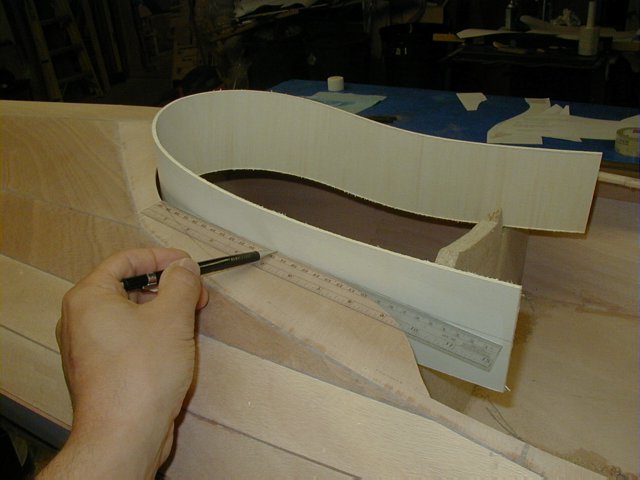 | Drop the rim into the cockpit so that the top is relatively parallel to the recess and draw the bottom of the notch between the markers |
 | Cut notches out. |
 | Insert the rim into the recess and hot glue the rim onto the pencil line. |
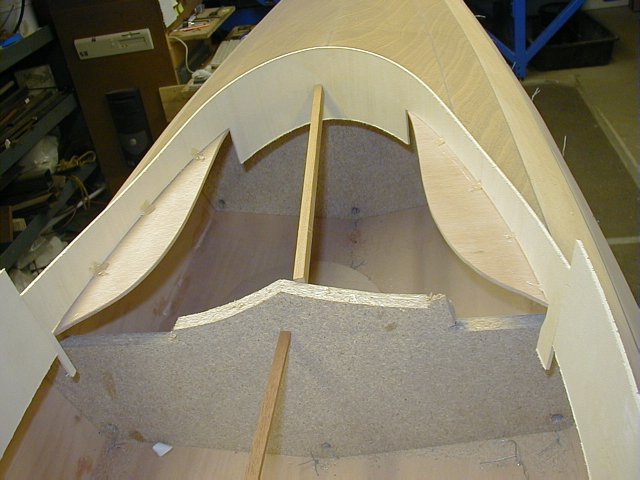 | This is what it should look like. |
 | Fit the rear piece afterwards like for the standard cockpit. |
 | After the rim is trimmed to the right height, mask it off and glue it in place. The knee braces provide a nice surface for the lay up the coaming. Drawing the boundary on the composite knee brace using the plywood knee brace as a guide. |
 | Trim off the excess. To maintain strength, I recommend to keep the plywood kneebrace in place. Bond this rim with some epoxy putty to the recess plate and the result is incredibly strong. Be sure to seal the rim with epoxy right before bonding. It is a good idea to sand off all the resin rich areas before bonding it on the rim. Coarse sanding disk is perfect. |
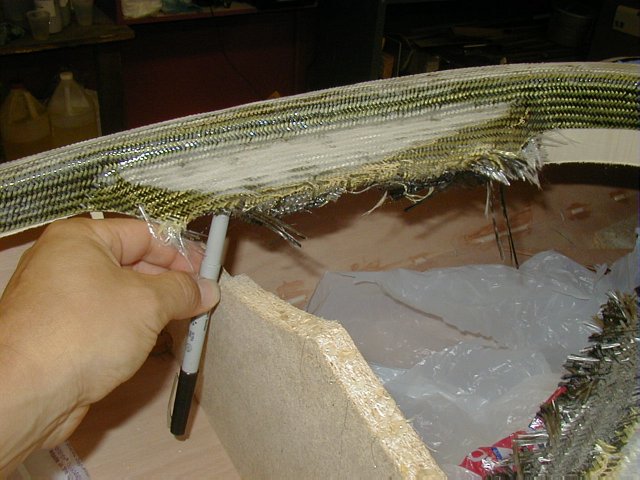
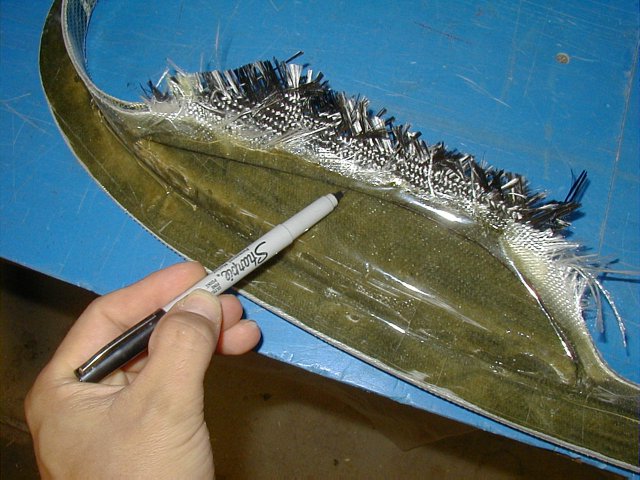
 | Finished recessed coaming on the Cirrus SLT built with carbon-Kevlar hybrid fabric. This is mostly for the interesting look otherwise, using Kevlar is a complete pain because it cannot be sanded well and any places touched by the sandpaper will be fuzzy and need to be buried in tons of epoxy. |
| << back | INDEX | next >> |
| Home | Kayak Designs | Kayak Shop | Materials | Kayak Gallery | About us |
| Building Manual | Plans | Sandwich Core | Wood Kayak | Order | |
| Epoxy Test | Abrasion Cloth | Rudder | Resources | Choosing Kayak | Guestbook |
If you notice any problems with the site (i.e. error links, missing images) please, let me know. Thanks
Mail:
Vaclav Stejskal
10 Colonial Court apt. 73
Stoneham, MA. 02180
USA
Tel: 781-481-9261
© 1999
- 2020 Copyright Vaclav Stejskal
All rights reserved
Last page update:
11 January 2020