
|
||||
| back to page 18 | INDEX | next Minicel seat page |
 |
Shaping
your own seat from a block of Minicel foam is a quick and easy way to customize
your cockpit for the ultimate distance paddling comfort. Here I am starting
with a block of the 3"(7,6cm) Minicel M200.
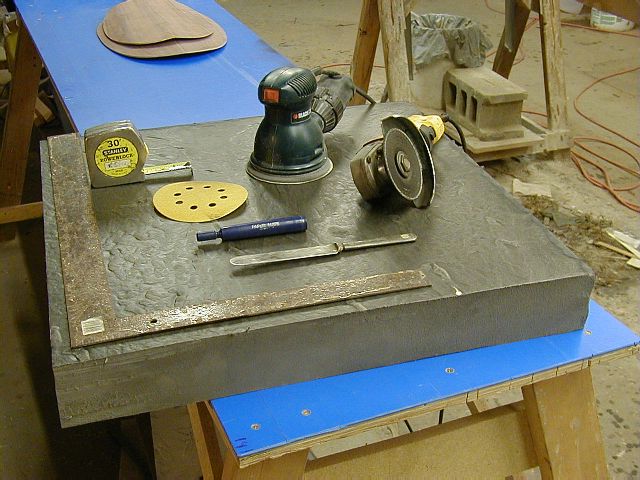
The blocks of this thickness come with a 'crust' which will be removed in
the process. Here are the tools you will need to do the job. The disk grinder (with 4"dia. carborundum metal grinding disk ) is the most important since it is the only tool I know of that will remove the foam quickly [and with control] in concave (inside bowl like) areas yet leaves a relatively smooth surface in its wake. Wire wheel on a drill will work too but it leaves the foam considerably more 'hairy'. |
 |
The first step in making the seat is to cut the block to size and shape it to conform to the shape of the kayak bottom. I start by cutting 'notches' into the sides of the foam so that it fits snugly between the butt (hip) plates. This step lets you to actually get the foam into the cockpit. Also, cut it to the desired length so that the seat will start at the backrest and terminate under the middle of the thigh, at least. The wider part of the foam will be the 'front' thigh support. |
 |
I
am getting a jump start on the seat making while my stitch and glue kayak
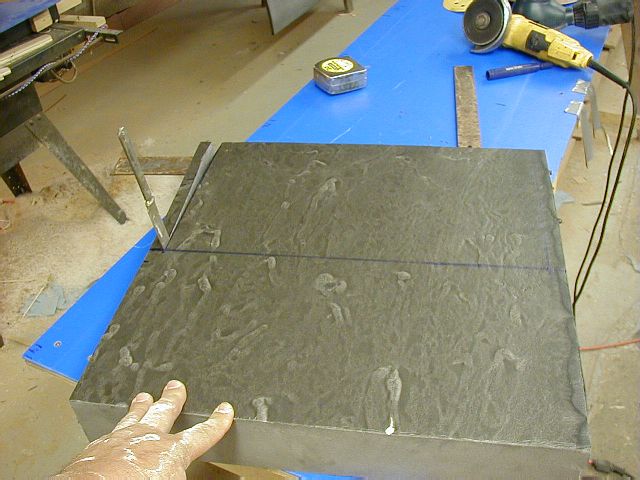
is still in two halves and the access is easy. Since the seat should be as low and thin as possible under the sitting bones, it is best to shape the foam here so as to make full contact with the hull. So, step #2 is to scribe a line (using my index finger as spacer) that copies the profile of the V hull shape onto the foam. I draw it so as to preserve as much of the depth of the foam block (in order to get a 3D ergonomic seat shape). Since the foam spans the hull and sits on the corners, the spacing is the distance between the lowest point on the hull (the V keel) and the bottom of the foam in the center. If your hull is rounded, the same principle will apply. The black graphite band will be the location of the rear bulkhead. |
 |
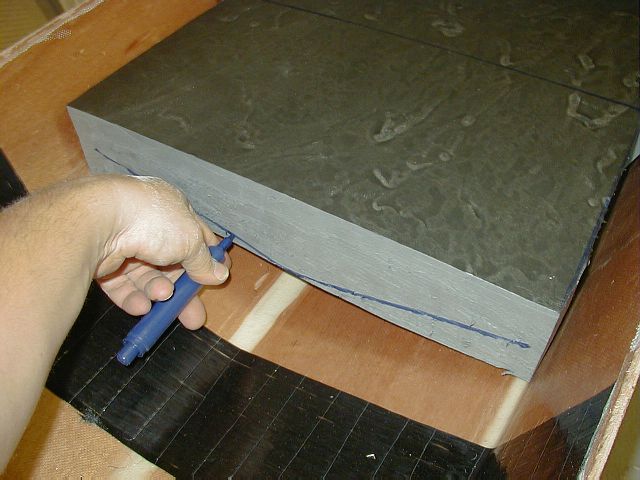
The scribed V hull line is extended on the side of the foam block with a straight line to the front lower corner of the seat. The seat is upside down, looking from the back. |
 |
Now connect the 'back middle' with the 'front corner' on the bottom of the seat to define two triangular 'wedges' . These are sliced off. |
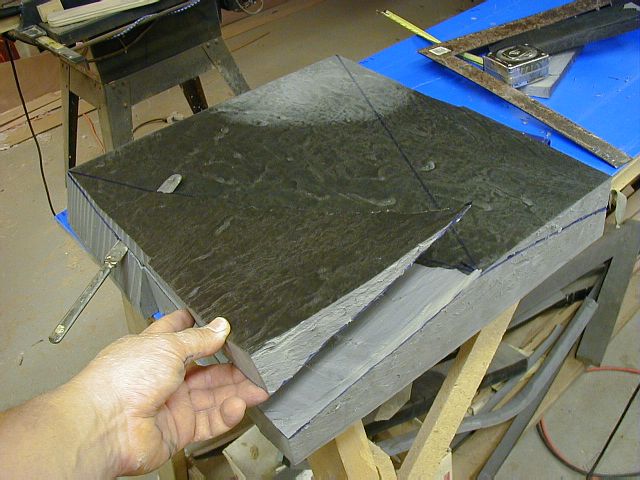 |
Wedge removal. |
 |
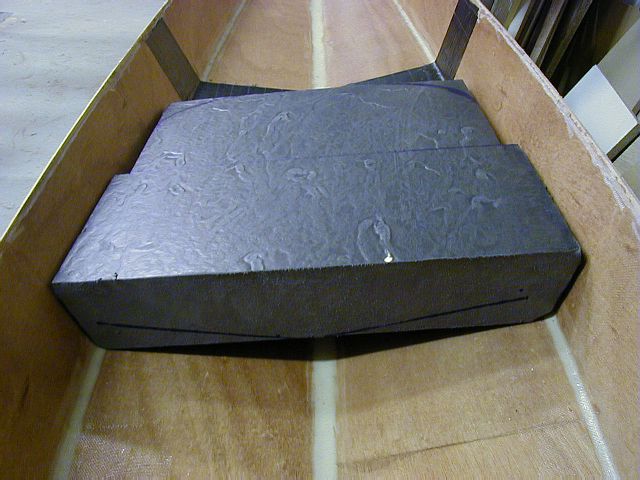
Finished bottom. This shape assures that the thinnest parts of the foam will be in contact with the hull while the rest of the foam block can 'bridge' over the hull. The foam thickness stays virtually intact under the thighs so it will retain all its rigidity and will not cave in, in the middle. If you don't like that, use the two leftover wedges to fill the space underneath. This method effectively increases the thickness of the foam under the thighs, for free :) |
 |
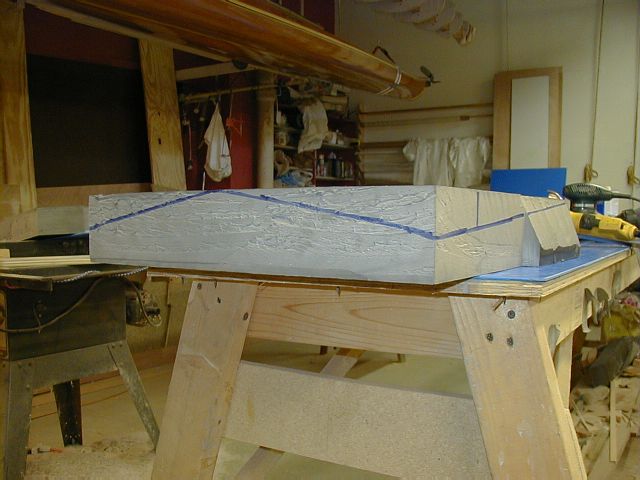
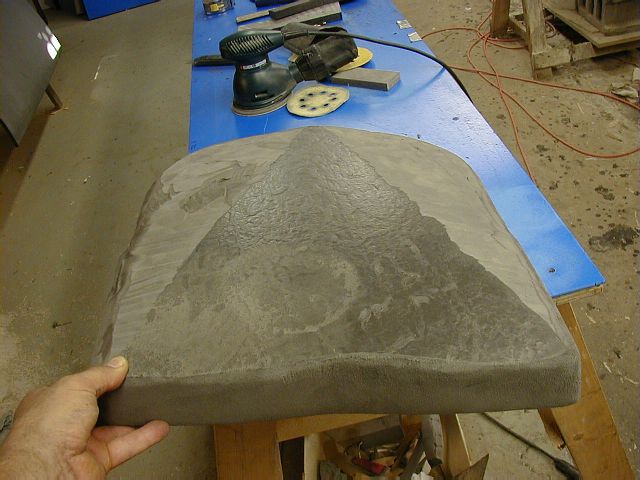
Here
you can see the gap under the front. This concludes the 'bottom shaping'
of the seat. NOTE: The lines scribed in the front are a mistake. The foam will span across the bottom as is. |
 |
Different view. Now that the foam fits satisfactorily in the kayak, the next task is to shape the foam to fit our gluteus maximus. Proceed to the next page. |
| BACK to page 18 | INDEX | next Minicel seat page |
| Home | Kayak Designs | Kayak Shop | Materials | Kayak Gallery | About us |
| Building Manual | Plans | Sandwich Core | Wood Kayak | Order | |
| Epoxy Test | Abrasion Cloth | Rudder | Resources | Choosing Kayak | Guestbook |
If you notice any problems with the site (i.e. error links, missing images) please, let me know. Thanks
Mail:
Vaclav Stejskal
58 Wood Ln.
Acton, MA 01720
USA
Tel: 781-481-9261
© 1999
- 2024 Copyright Vaclav Stejskal
All rights reserved
Last page update:
9 May 2024