| |
Just wanted
to let you know that both the storm LT and Expedition hit the waters of
the Huron River in Ann Arbor on Sunday August 1st! ... It was a proud
moment and several friends and neighbors came for moral support... As
you know, the boats draw a tremendous amount of attention and I spent
at least 1/2 hour giving explanations and thanking people for their compliments.
As for the performance, well, you obviously already know how nicely these
boats move on the water. I am pleased to say that both kayaks seem to
track true (I was concerned about camber I may have inadvertently built
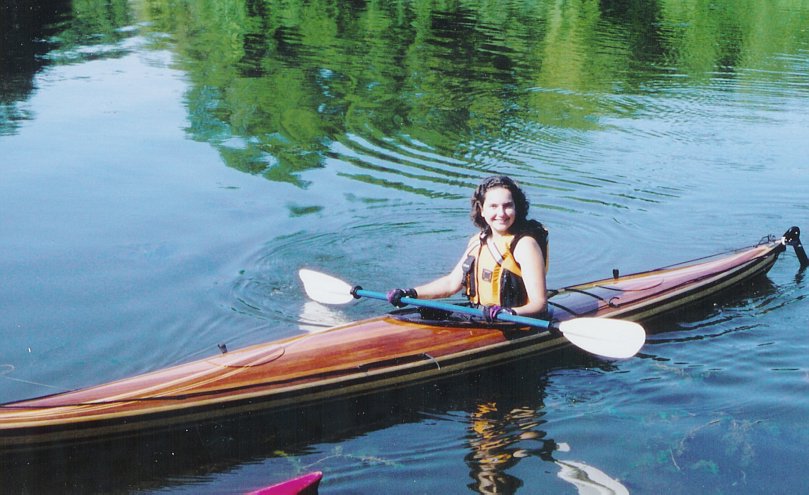
in to the hull of the LT). As you predicted, my wife (~134 pounds) outpaddles
me with little effort in her LT. She enjoyed it tremendously! The rudders
give excellent tracking, but it was so calm, my wife actually retracted
hers! That's impressive!
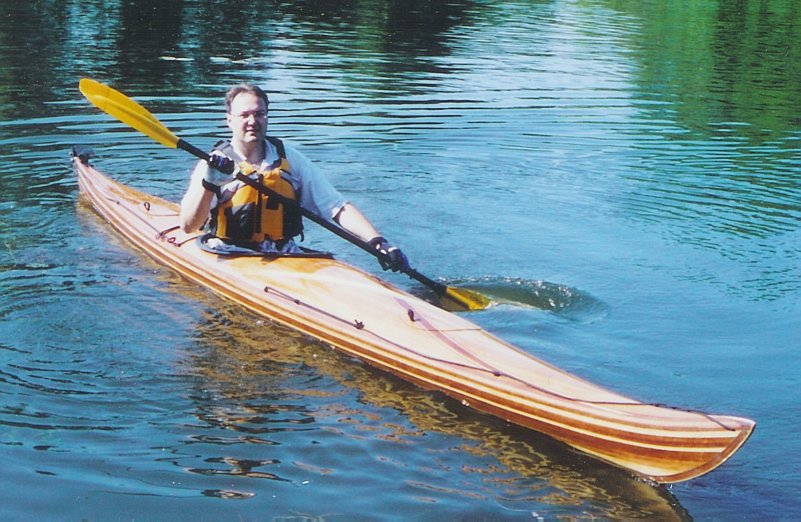
As for me, it took a few strokes to get used to the "tippy" nature of
the Expedition, but then things went smoothly. At 214 pounds, I wonder
if the boat is somewhat UNDER-loaded, because it easily tilts to either
side, and requires regular "balancing" to stay on course. As I'm writing
this, I realize I may have the boat improperly trimmed fore-aft, so I
will try moving the seat back a bit (although there is little room left
in the cock-pit for this). I am sitting on 5/8 inch foam so I doubt my
CG is too high. I can imagine however, this kayak would love rougher conditions,
so I'm anxious to get onto some bigger water. I'm very pleased overall,
and wanted to thank you for a great design, but more importantly,a very
well written manual. The fact that a novice like myself can build two
vessels like these is due in large part (90%) to your terrific instructions
(paper, on-line, and e-mail communication) (I reserve 10% for my own ingenuity
and cleverness! Ha Ha!)
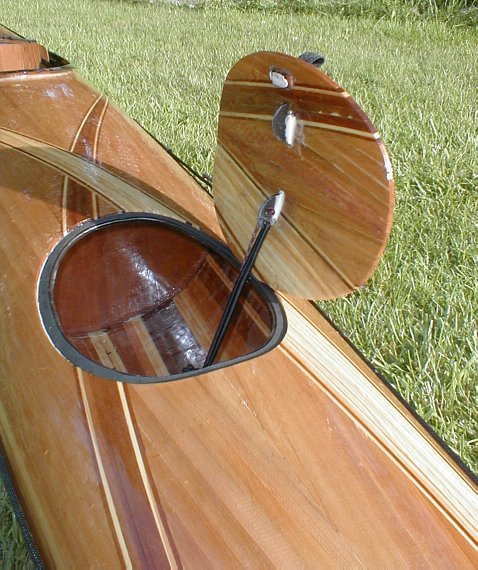
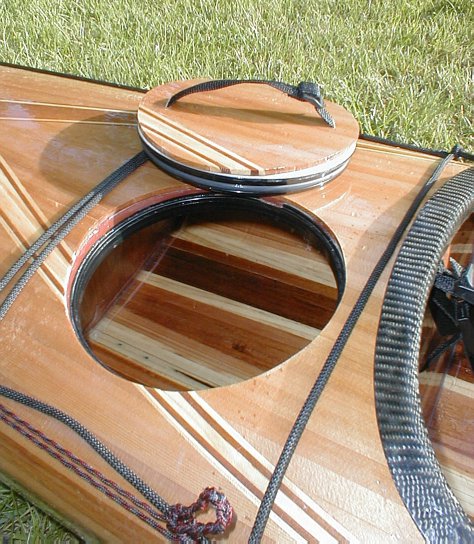
...In my humble opinion, the most innovative thing I did was to mate the
flat 8" Beckson Marine "pry-out" hatch with the curved surface of the
deck. Required some thought and planning, but I'm fairly happy with it.
I'm not sure if it weakens the area behind the coaming too much, but the
bulkhead behind the seat and the second dividing the storm hatch from
the stern should provide some strength. I used silicone adhesive to attach
the bulkheads. Perhaps for more strength I should epoxy them, but I wanted
to have access to the storm hatch in case anything went wrong with it.
We'll see how it holds up. Since no holes were drilled for its installation,
if I have to, I can remove the hatch assembly from the deck and the lid
from the deck plate (carefully!). Then I can just repeat your instructions
for the other two hatches. Those two are holding up just fine. My desire
was to have easy and secure access behind-the-cockpit storage. Two options
had been used in the past by other builders. The first was Beckson-made
screw-out hatches, but I thought that would be somewhat troublesome to
perform while seated in the kayak. The second was a "rubber" lid hatch
by a swedish kayak accessory company (I think) that was known to be really
watertight. Aesthetically, that wasn't a good option because it didn't
allow me to keep the wood lid. So I opted for the pry-out lids. I also
used the underdeck bungee system many others have used to secure the standard
deck lids. I used leftover rudder bracket stock and cut two 2" holes with
a hole saw. Then I cut these in half to make semi-circles. I then shaped
on side of the semi-circle into a 1/4" hook (to hold the bungee) at an
angle that would ensure secure hold by the bungees when the lid was placed
level over the hatch. To remove, the lid is raised on one end (with the
webbing straps), one reaches under the hatch to disconnect one bungee
loop from the hook, and then lifts the lid up and over onto it's back.
This motion disconnects the second bungee from its hook, and the lid is
free to hang from a string. It works well (is watertight) and maintains
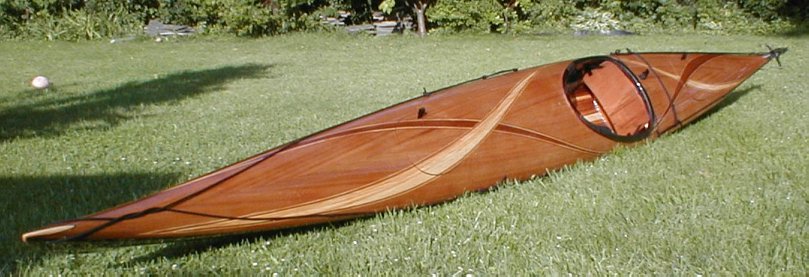
the "look" of the kayak. I also didn't want to clutter the front with
straps/bungees, so I only installed deck rigging along the edge. I find
it "frames" the art work nicely. The deck rigging also allows for placement
of extra straps accross the width all along the kayak...a flexible arrangement
for touring. One such strap could be used as a back-up in case the under
deck bungee system fails for either of the hatch lids. Overall, I am pleased
with the balance of aesthetics and practicality of my set-up. I'll send
you more pictures of the Storm LT when my wife takes it out again. Thanks
again for a great design!
|