|
| HOME |
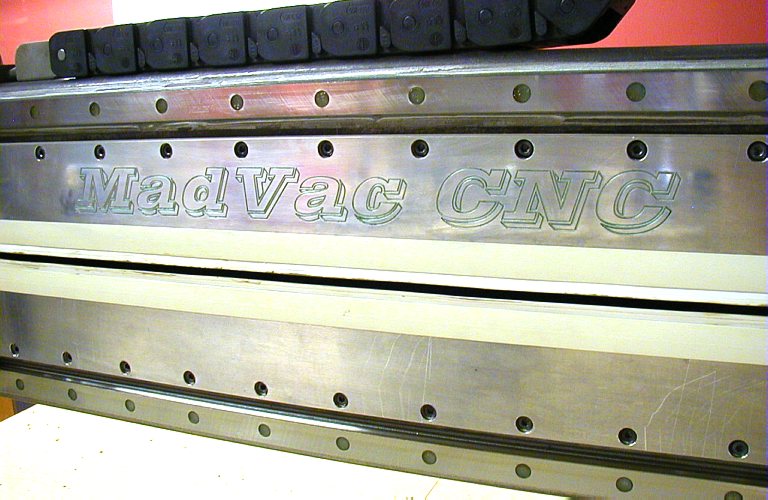
| The Madvac engraving (top) was the very first engraving job done with a beat up Craftsman 90 degree V bit in a 6061 aluminum sheet. The holes for the screws were also milled out rather than drilled. | |
 |
Proofing the rouging operations in MDF before plunging into expensive aluminum. Here you can see the different machining strategies (as done in Visual Mill) to remove the material with relatively even chip load and efficient material removal path. |
 |
My
day of reckoning came early on when milling aluminum molds which align to
each other by three ground pins. The machine milled three 0.375"deep
x 0.2502" diameter pockets spaced in a triangle about 5" and 20"
apart into each half of the mold shell. Then ground steel pins of 0.2500"
dia were slip fit into the holes and THEN the two halves of the mold were
brought together. A major nerve wrecking moment ended in exaltation. Both
halves of the mold came together is a nice and tight slip fit fashion resisted
mostly by the air cushions trapped under the pins like air under a piston
in a cylinder. This was the final proof to satisfy myself that the machine
could mill to "half a thou" accuracy even with a piece of $#!^
router. With the pins nearly air tight in the holes, any compound misalignment
or backlash outside of 0.0005" in X and Y direction and Z axis out
of square would prevent the mold haves coming together. This is one of those
moments when you thank higher powers for the providence to abandon the "acme
screw idea" and going way out on a limb for precision ground ballscrews.
If you are in this for a hobby, by all means, get acme screws, rolled ballscrews
or rack and pinion but if you plan to make accurate fitting parts,
bite the bullet and "buy right, buy once". You will rejoice when
precise parts come off the machine.
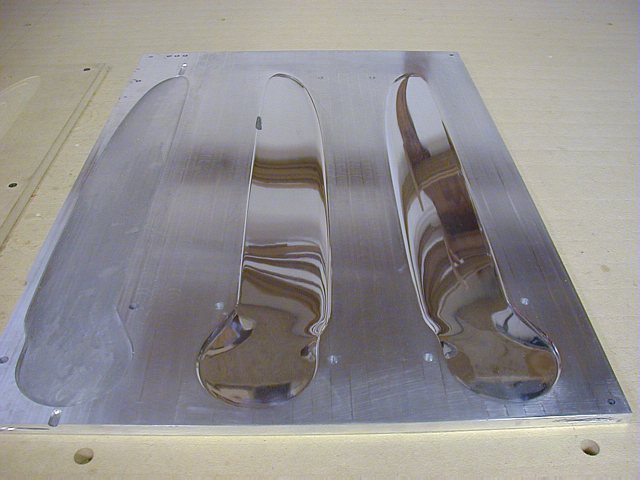
Picture on the left shows the matching halves of polished 3D female molds. The surface was first surfaced flat with 1/2" mill. The rest of the milling takes place using quite a few of Visual Mills machining strategies using various sizes of flat and ball mills. The plate is a 2024-T6 aluminum (copper rich). It is a superb material to dry machine (with a wood router to boot!), almost like machinable wax. It is harder than common 6061 grade of aluminum, doesn't gum/gall and takes on perfect finish and polish. You cannot make this type of thing from 6061 material since it will not take polish well, is not homogenous and I did try. |
 |
Fair
and smooth mold reflection of hydrodynamic rudder blade showing the quality
of the all the software and hardware participating in its genesis. The foil
curves were imported from CAD into Rhino which generated NURB surfaces,
processed by Visual Mill CAM and imported into Mach2 for milling. Only a
few years ago, this was possible to do only in large companies possessing
expensive machinery and software. Now you can do this in your garage! This is the ultimate reward of having your own CNC. The possibilities are limited only by your imagination (software and precision of machine components). |
|
Tips on dry milling
aluminum: |
© Copyright
Vaclav Stejskal
All rights reserved
Last page update:
12 May 2005